Can we learn graphic recording in 4 hours and actually DO something? YES! Part 1

Rarely do I get to go to an event with graphic recording as my primary duty. It is often an “extra” that I include in my facilitation practice. This year I was invited to the 7th Annual GFRAS Meeting in Limbe, Cameroon as their graphic recorder! Because it is a huge investment of resources – theirs and mine – I asked if I could also run a short “introduction to graphic recording” the before the event kicked off, and then we could have the participants fan out across the breakouts and field trips to capture sketch notes. I can’t be everywhere at once so this gave us some immediate practical coverage, but more importantly, I wanted people to see that this is an accessible, practical and usable practice. This first post is about the workshop itself. Part 2 will share a few stories from the workshop participants about their sketchnoting at the meeting and after they returned home. How are they using their new skills? Part 3 will share the graphic recordings I did with a little reflection on my own process. At the bottom of this post are links to other visual artifacts from the week in Cameroon.

The Workshop
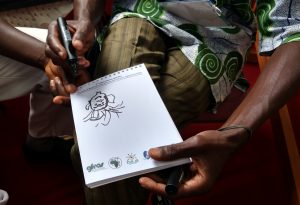
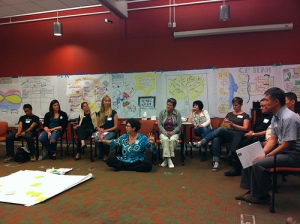
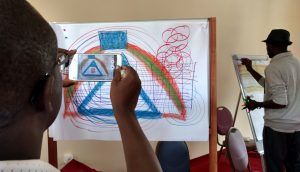
img_20161003_103006995_hdrWhat can you do in just under four hours to help people master the basics of graphic recording? It turns out, you can do quite a lot. I love starting with the fabulous paired drawing activity I learned from Johnnie Moore.  In the debrief it always raises so many useful aspects about how we pay attention to and communicate with each other. It creates some fun and some comfort with taking risks. And drawing for and in front of people can be a huge risk for many of us.


Then we got into the practice immediately. My graphic recording and graphic facilitation workshops (short or long) always start with liberating our inner artist using an exercise I learned from the fabulous people at the International Forum of Visual Practitioners (I took their GR 101 course years ago!).

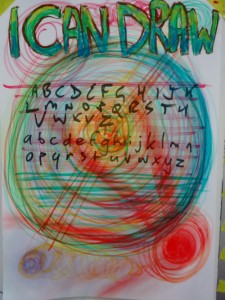
The “I Can Draw” img_20161003_112308329_hdrexercise introduces people to simple, body-based ways to draw circles, lines, use color, write clearly and, for extra fun, how using different materials can change and bring a sketch to life (yay chalk and pastels!) It never ceases to amaze me how such beautiful creations emerge, and how empowering this is. The exercise also loosens people’s bodies up to use bolder strokes, bigger lettering and to explore how color can change a visual experience with very little effort.
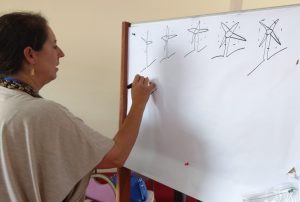
 

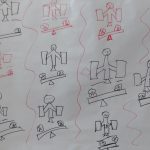
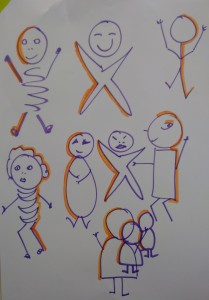
img_20161003_121758496Next we dug into specific skills of drawing people, icons, metaphors and ways to arrange images on one’s paper or note-pad. Because all the work I do with communities, agriculture, development and such, EVERYTHING I work with involves people. And it STILL intimidates me to draw people. We face this head on with simple ways to draw people. Stick figures. Bean people. Star people. Spring people. I loved how Merida immediately riffed on her people to integrate them into the sustainability work she is doing. WINDMILL people!
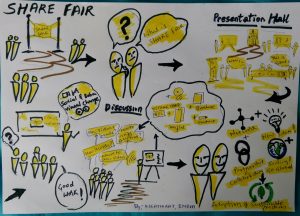
 

img_20161004_133510By now people were getting excited, so this is when we started playing with icons, particularly icons that relate to their work, world or context. I have a card deck of silly icons I made years ago. I asked everyone to grab one that they attracted them, and then sketch that icon a number of times to build some comfort. People observed each others’ drawings, swaped cards and iterated. I encouraged people to take pictures of icons – theirs or others’ – that resonated for them. This is so often a practice of “see, imitate, iterate and THEN evolve one’s own style”. Some people have a style right away, like Raj. You can see it in the first sketch note he produced the afternoon after the workshop.

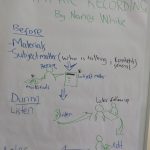
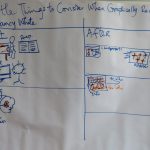
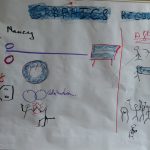
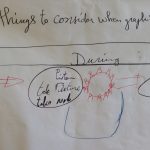
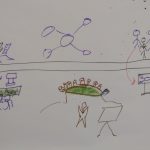
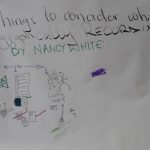
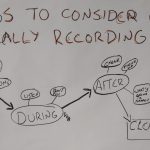
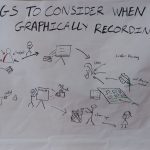
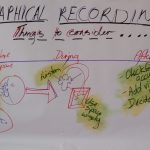
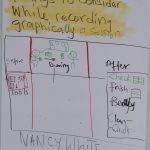
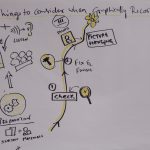
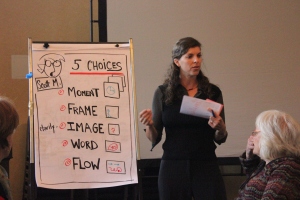
Finally, we put everything together and I challenged everyone to graphically record a short talk I improvise on the spot about preparing to graphically record. Granted, I talked slower, repeated things and even offer a few hints, but really trying to graphically record real time for the first time is VERY HARD. It challenges us to a) listen deeply and carefully, b) identify what points are important and should be captured, and finally, c) actually draw them on the paper. The group did amazingly well for such a short introduction.  Afterwards we toured each of the examples, identified strenghts and looked for something new for them to try the “next time!”

Here are some examples of their work. Click to see larger images.

My Pen, Our Pens: Engagement through Participatory Visualization Workshop

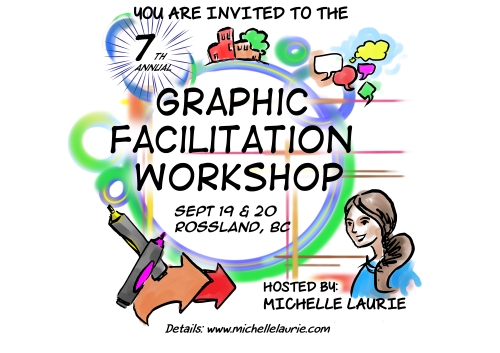
For the last 6 years we (Michelle and Nancy) have been leading introductory workshops on graphic facilitation, the use of visuals in group process. We’ve grounded the workshops in basic drawing “liberation” (I CAN DRAW), dipped into graphic recording and finished with examples of visual practices in group process. Last year Michelle took that on solo and will lead RosViz 16 again. If you are looking for a great entry point into graphic facilitation, JUMP AT THIS OFFERING for September 19-20, 2016 in Rossland BC. Add a few days and enjoy the stupendous beauty of the area!
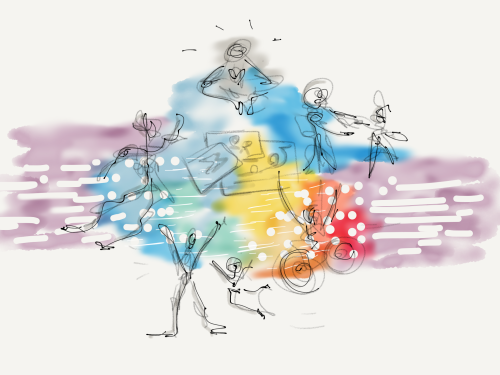
I am grateful Michelle took RosViz on, because in true restless Nancy form, I was ready to do something new, to push my own boundaries a bit further. Often that means WITH YOU!  So I wanted to share our individual and collective offerings, this year in September in Rossland on September 16 and 17. Michelle has all the details on her blog about both offerings.  And I want to add to my American friends, with the Canadian rate exchange, this is a good deal!

Now, the new offering, which maybe is a workshop, but I also think it is a do-shop, a think-shop and a play-shop!

My Pens, Our Pens: Engagement Through Participatory Visualization

September 16-17, 2016, Rossland, BC, Canada

This year we are ready to push ourselves into some new territory from our practices and from the inspirations of other practitioners we follow and admire. We invite you to join us in this exploration.

For 2 days we will explore, share and practice participatory visualization practices which support group process. From templates pioneered by leaders in the graphic practitioner fields to ones we create on the spot, from visual exercises designed to promote relationship, thinking and sensemaking, to collaborative and collective visual harvest practices designed both for sensemaking and knowledge sharing.

We’ll start out in familiar territory getting comfortable drawing – but this year we’ll go beyond drawing on walls, and experiment with shared visualization on smaller scale paper and even, if you want, on tablets and ipads. Then we’ll progress through a series of exercises and experiments alternating with reflection and harvest. At the end of the 2 days you will have experienced, experimented, facilitated, reflected and made sense of how visuals can be part of participatory and engaging processes in your work.

This is not your traditional workshop. We are looking to push our boundaries (and yours) in terms of the role of visuals in design and facilitation. We will ask hard questions about who captures content and what is its use?  Can visual methods help in developmental evaluation and results communication be more meaningful? What is the role of metaphor? It’s constraints? Where are there visual opportunities in process design? When does it make sense to use visuals and where does it detract from the process? What is the process of participatory capture and harvest of content? What are the power dynamics? How do we use visuals with approaches such as Liberating Structures?

Here are some of the themes we are exploring:

  • The Influences of Different Modalities and Constraints on group interaction: opening possibilities
  • Metaphor: friend and foe
  • Visual Practices for Strategy/ Assessment / Evaluation: engaged and effective
  • Visual Reflective Practice: personal and group
  • Visually Communicating With Our Teams: shared language and attention
  • Building a Visually Grounded Facilitation Practice (tools, resources, etc.): stuff you can use right away

To ground us, we’ll send you some readings and maybe an exercise or two in advance to jump start our time together. I have been curating some very cool stuff! Because this is an exploration, we want to look inward AND outwards, so  we’ll actively share out to the world what we learn.

Who is this for? We invite everyone, from beginners, to RosViz alumni, to seasoned practitioners to join us.  You are welcome to bring favorite drawing materials and electronic devices. We will provide with a drawing journal, a set of marker pens, a sketchnote pen and 2 different colors of pan pastels with a sponge. You will have access to loads more materials to play with and use throughout the workshop. If you know us, you know there will also be healthy snacks and chocolate. We also host a very active online community of practitioners to support your practice and learning after the workshop.

Visual novices or those wanting to brush up on their drawing skills will be invited to an optional pre-session of our more traditional “drawing on walls” the day before.  There is an additional fee and it includes an additional set of chalk pastels. However, this is not required and will only be offered if we have 4 or more interested people.

Dates: Sept 16, 8-5 & Sept 17 – 8-3

(Please arrive the night before if flying in. We end at 3pm on Sept 17 so people can catch flights home)

*Getting started drawing on walls optional ‘pre-day’ is Sept 15, 2- 6pm

Price: $950 CAD + GST  (Intro to Drawing on Walls + $300 CAD)

*Early bird discount $800 CAD + GST (register and paid by July 15th)

*Bonus: Three or more from one organization, 4th comes free!

Location: Prestige Hotel Ballroom, beautiful Rossland, BC

Meals: All meals on your own. Rossland has several beautiful cafes and restaurants to enjoy. Healthy snacks, chocolate and drinks are provided throughout.

About your hosts:

Nancy_facilitatinggroup_circle

Nancy White

“I am a learner, mom, gramma and chocoholic. I founded Full Circle Associates to help organizations connect through online and offline strategies.  My practices are diverse, including online interaction designer, facilitator and coach for distributed communities of practice, online learning, distributed teams and online communities, doodler and visual practitioner. I have a special interest in the NGO/NPO sector and the emerging practice of using communities and networks for work and learning. I blog at http://fullcirc.com/wp/, teach, present and write on online facilitation and interaction, social architecture, social media and visual practices. I am co-author with Etienne Wenger and John Smith of Digital Habitats: stewarding technology for communities. Lately not only do I like to draw on walls (graphic facilitation), but I spend a lot of time playing with my granddaughters!!! For more about my visual practice see http://fullcirc.com/wp/about/visual-and-graphic-work/.”

IMG_0370

Michelle Laurie


“Despite being an analytical person, I have found that visuals have brought new meaning to my practice as a facilitator and communicator. Typically I explore the interface of environment and development via strategic planning, assessments, facilitation and engagement. Lately my work has focused on supporting organizations to transform their ideas for positive change into realities on the ground. I incorporate visuals wherever I can particularly with the use of participatory graphics, templates, animation and reporting. I also use visuals in my personal life for planning weddings, family activities and travels! I am an associate with the International Institute for Sustainable Development, a member of the International Association of Facilitators, the Canadian Evaluation Society and IUCN’s Commission on Education and Communication. I will be your main contact for workshop logistics.”

To register you must email  michelle.k.laurie(@)gmail.com to confirm your participation, provide your contact details and submit payment.

Payment Options:

– Email transfer – michelle.k.laurie(@)gmail.com

– Paypal transfer – paypal.me/MichelleLaurie (If you prefer to pay in USD, contact NANCY)

– Cheque by snail mail to: Michelle Laurie, PO Box 1063, Rossland, BC, V0G 1Y0, Canada

My Ideas - 38

Learning While Building eLearning: Part 1

F2FtoONlineIntroduction

This is the first in a short blog series based on conversations with a colleague who is “learning while doing” as he is building an eLearning offering. Disclaimer: I’m an adviser to the project and my condition of participation was the ability to do this series of blog posts, because there is really useful knowledge to share, both within the colleague’s organization and more widely. So I said I’d add the blog reflections – without pay – if I could share them. So here we go! Over time it will probably include some additional comments from other members of the team working on this project. (Edit: Part 2 and Part 3.)

The reason I wanted to share this story is time after time I hear people state “Hey, let’s just convert our face-to-face (F2F) training into elearning” without a real sense of what that process might entail. What really happens when you decide to convert your face to face training to an elearning offering? What types of offerings lend themselves to conversion? What would that conversion look like? What should you consider?  I’ve done piles of research for clients in the past (and I’m working on getting permission to share some of it.) But nothing in the research is surprising. What is surprising is that it is not considered before diving in!

There are many paths to answering the questions about converting F2F learning to online or blended learning. The most important starting point is to ask some important initial questions, explore the options, and learn from others. Then, if you still want to proceed,  you can hire a firm to fully convert materials, do it yourself or work with a few others.

Regardless, the “conversion” process asks us some fundamental questions about learning: what and why we want to learn and what the impact of that learning might be. Looking at our assumptions around these fundamental questions can inform any initiative to “convert” something to elearning.

Meet Emilio  

Emilio is a technical officer at a large international development organization. He is an expert in his domain with years of knowledge and experience. Over time he has been asked to share his expertise and has developed a set of materials and practices to offer face to face (F2F) workshops around his area of expertise. He is passionate about his topic and his depth of experience brings richness to every conversation he has with people who want to learn more. Now he has been asked to reach more people by teaching online. That “elearning” thing.

The first decision Emilio faced was to understand what elearning really means. What are the options? What does it take to convert his offline materials into online opportunities? In our first learning conversation, Emilio shared his discovery that there is a large range of types of elearning courses and that they are difficult to categorize. He started out thinking that this is simply presenting his F2F lectures in a real time online space, augmented with the materials he had developed. But he discovered there was more to it than that.

Matching the Material With eLearning Options

multimediaAn early insight was that what you choose to do depends on your target audience and what they want or need to learn. (Or what YOU want them to learn!)

From conversations with other colleagues at work, Emilio learned some forms of elearning that have been produced in his organization. For example packages were created to introduce ideas, concepts and general information to government officials. Emilio now sees these can be less interactive, self-paced, and can potentially reach hundreds in unfacilitated courses. His colleagues have handed material over to consultants who have converted them into self paced offerings – quickly and efficiently.  This form fits with a goal of information dissemination. The value added to the learner, as compared to doing an internet search or picking up a book, is that the material is chunked and sequenced into digestible chunks and because of the reputation of the agency, people have confidence in what they are learning.

Emilio’s existing  training courses focus on a variety of complex policy issues and practices.  The material is more about converting concepts into practice, which is far more challenging than introducing ideas. Learners need to wrestle with the material, practice its application, consider their contextual differences and get the kind of feedback experts like Emilio have in their heads – the kinds of stuff that is rarely included in the slide deck or readings. Subtle. Contextual. Experienced. This is more challenging than converting basic or introductory materials into elearning.

As the volume of complexity of the material grows, there are other issues to consider. How do you keep the learner’s attention? How do you know if they are falling off course and what do you do? What and how do you customize for different contexts?

An early implication of these differences was that Emilio’s colleagues and bosses may have been thinking that he was doing the same thing as the people making introductory courses. The might expect it would take the same amount of time and resources to implement. Like him, his colleagues were not familiar with the range of elearning options. Add to that the fact that a strong organizational driver towards elearning is the idea of efficiency and reach, you can fall into a trap assuming that elearning is just about low-cost content distribution to many people, and that it is always easy or effective to implement.

Sometimes we can and do reach thousands with introductory material. But how do we really build capacity for more complex topics at a distance? What does “cost per student” really mean for deeper learning?

Emilio discovered that the reality is quite different than he thought. There is a mountain of jargon. Even thinking about the course learning objectives in a more complex offering is much more challenging (and we’ll talk about this with Emilio in a later blog post). All his tacit information that is easily available when he is present in a F2F training needs to be identified and reconsidered. What needs to be made explicit? What can come out through the facilitation of a course, with direct online interaction with learners? What has to be packaged into knowledge products? What is REALLY important amongst the vast possibilities of the content?

The adventure has begun. Stay tuned for the next part!

Reflecting on my 2015 #365Photo Project

BradBradBradAs the month of January quickly slips into the rear view mirror, I realize it is now or never to reflect on my 2015 #365photo project. I had been watching Alan Levine and others do this practice for a few years and decided it was time to try it.

It was nearly a year ago when I made my only reflective post on the project last year, one month in.   While I can’t come close to the analysis of my fellow #365-er,  Eugene Eric Kim  and all his reflections on his 365 Project, it is worth putting on the reflective glasses and taking a moment. Even my sister prompted me to do this on Facebook. Go Cesca!

My Process

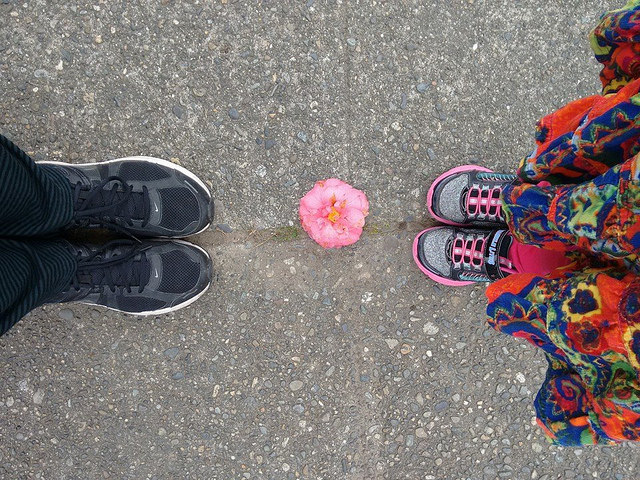
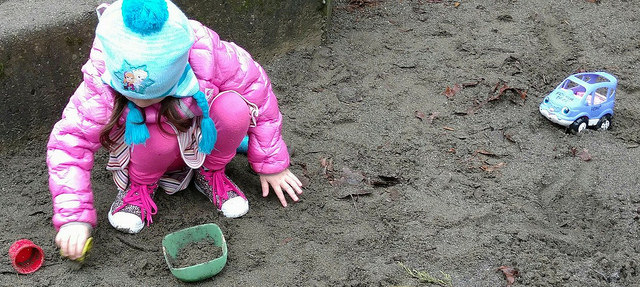
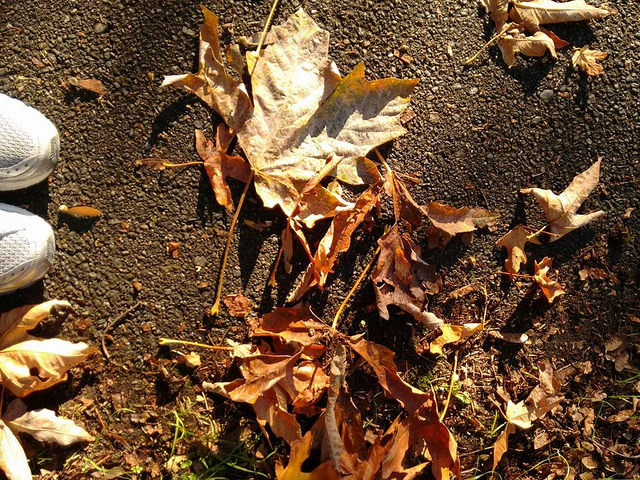
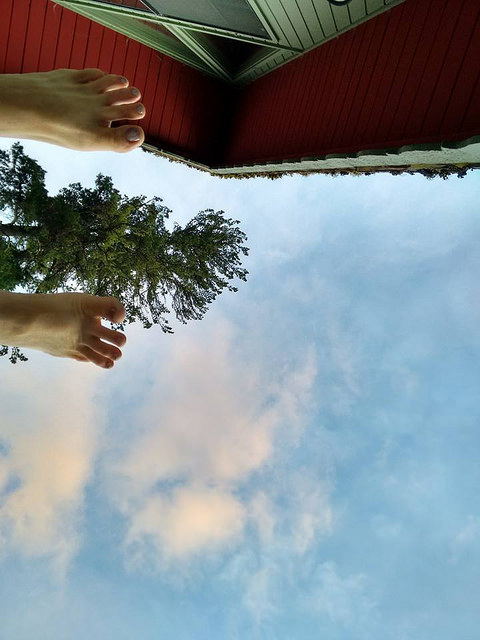
The picture taking process was almost always opportunistic. The value of knowing I wanted to capture and share ONE photo a day really upped my “noticing” while on walks, but if I did not get outside of the house (ah, Seattle’s winter) I found I had to stretch and sometimes even set up a picture. There certainly were stretches where nature was a key inspiration. Spring, Spring, SPRING! Flowers. Patterns of leaves and other natural elements (often juxtaposed with my feet, for some reason – at least a dozen) show up a lot, particularly fallen camellias! There are many of my family, particularly my granddaughters who are irresistible, but I also worry about putting too many pictures of them online.

Taken as a whole, they do tell the story of my year. You can see the travel, the work, the family, the seasons, the food!

The camahogada-tUdGera was somewhat of an issue early on, as I was using a fairly basic, lower resolution phone camera. I got frustrated but people said, CROP and use filters, to use the limitations of the camera as a feature, not a bug. That helped me over the hump, but in the end I’ve used cropping and filters only a handful of times. Lazy? Busy? Probably both. And I got a better phone with a better camera late last year and that FELT more fun. Especially for macros, which I enjoy.

I did NOT have a practical and consistent workflow for my project. I mostly posted from either my phone or one of my tablets to Facebook, MOSTLY got those into an album, and then at the end of the year downloaded the lot and imported them into the more easily sharable Flickr. I think some got lost and mis-categorized and I have totally changed my 2016 workflow for #366photo (yes, leap year!).

This year, every photo gets posted to Flickr using the phone app which also allows me to cross post on Facebook and Twitter. I always cross-post on FB, and sometimes on Twitter if the image is either pleasing to me or has some timely relevance to a wider audience as now only my friends can see my FB posts. I restricted them late last year instead of posting them publicly, mostly to protect my family. I should have done that earlier. When I post to Flickr I can put the image right into an album. Later I can go back and tag, but that is not a top priority.
Reflections

The process itself was wonderful. It was, in a sense, a meditation in paying attention to what is around me. Looking back, I smile at the pworkinprogressictures of friends, my family, of nature and of the many places I visited and food I ate. It is a celebration of the full and rich life I get to live. Here and there it hints at the bumps in the road. I think that is because I don’t really have too many and I don’t really want to make a big deal out of them. If there was one visual theme on bumps, it was fatigue!

The sharing part turned out to be a much bigger surprise. How many people on FB had a little “line of sight” into my life surprised me. The number of “likes” surprised me – people actually PAY ATTENTION to this stuff? The reflections shared with Eugene and Alan Levine were wonderful moments of learning.
As 2016 dawned I had just about decided NOT to do this again. Then the urge crept in. The three things I gained from the project were worth continuing:  a) the practice of noticing,  b) sharing, and c) learning, because life is always a work in progress! (And my workflow for it is already better. The pictures are here.)

My Pictures

I decided it would be fun to select some of my favorite pictures from 2015. As I noted, I was unhappy with the quality of many of my shots, but looking back, some are really pleasing to my eye.

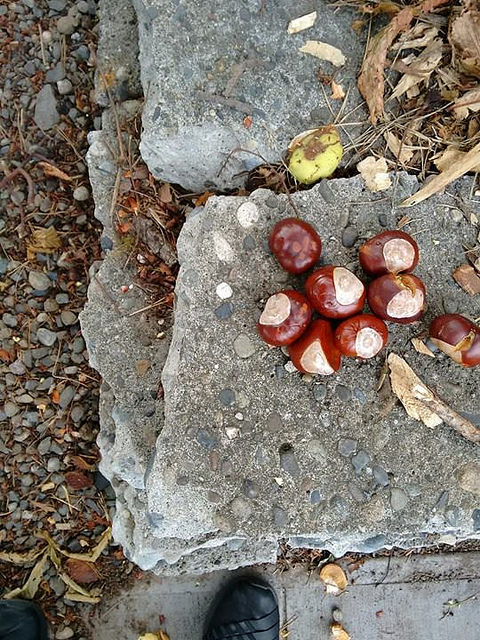
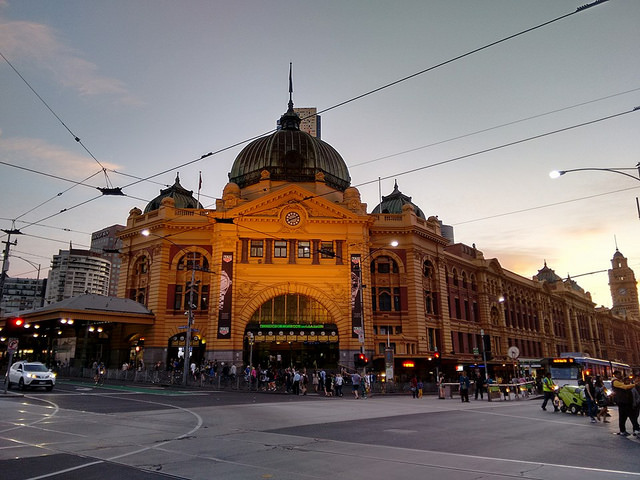
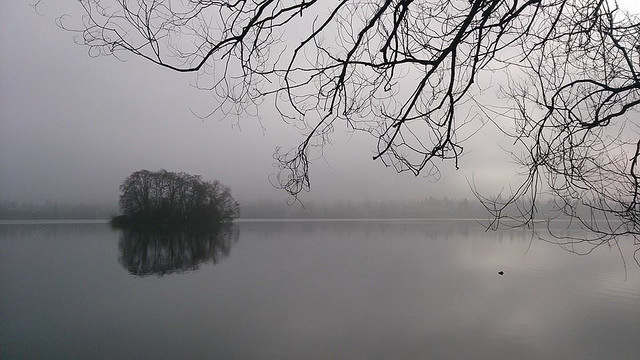
CameliaShoes crappycroppy selfieatwork shadowflowers iliveinabeautifulplace horsechestnutshoes mylarry sandplay melbourne quotidian playginwithpapa


bugs
playjoy shoefrost noticingnature windowdawn furry oldbarge fiddlestilllifeinmontrealbeauty shoestilllife hanginout octasketti friends3 greenlake2 friends2 friends1 fallfeet skyfeet Greenlake squashedcameliapoetry frostyshoe wilddave

Unleashing Joy Through Visual Facilitation – Part 4 of ISS Fellowship

This is the fourth in a series of posts about my ISS/Chisholm Fellowship in Victoria State, Australia. You can find the previous posts here: Part 1, Part 2 and Part 3. While I intended to write these WHILE in Australia, it has, er, ahem, taken a bit longer.

When Brad Beach (of Chisholm) and I were noodling on what I might share through my fellowship, I was exceedingly happy that he was willing to step out of the more traditional practices and dive into visual or graphic facilitation. We scheduled two rounds of a 3 hour “Doodle, Draw, Learn” workshops to introduce teachers to the power of visuals for engagement and learning. I think we accomplished this well in the workshops. They also reminded me of something else that happens when we allow ourselves to freely draw. Joy fills the room.

IMG_20151117_084544759As before, I’ll share the content points first as reference, then reflect on my experience and share a few words from the participants. Finally, there is a visual artifact at the end with resources, support materials and a deck compiling all the images from the day.

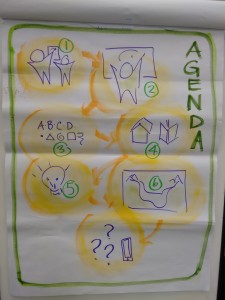
The structure of the workshop is designed around modeling an interactive initial engagement visual activity, unleashing of drawing joy (“I CAN DRAW”), development of icon skills and wrapped up with another visual activity, this time focused on reflection and evaluation. The agenda is communicated using a visual agenda (of course, and from the photo, you can see this works even on wrinkled flip chart paper) and the feedback is captured with video – another visual medium. In the middle I share example visual artifacts and offer a few thoughts so people can get off their feet and rest for a few minutes. This is where we begin the conversation about where to apply visual practices in the classroom – online or offline.

All in all, this is a very ACTIVE experience. But people generally report being energized, rather than exhausted. Interesting, eh?

Process

Here are brief descriptions of the exercises, in case you want to try them:

  • IMG_20151117_090853483_HDRPaired Drawing:  I learned this from Johnnie Moore www.johnniemoore.com/blog/archives/000380.php and have blogged about it. One pen, one paper, two people taking turns drawing a face, one pen stroke at a time with NO TALKING. There are so many ways to relate this activity to your teaching or meeting goals. It is great not only to “break the ice” but to show patterns of communication and collaboration and the interesting effect of assumptions! More photos here.
  • IMG_20151117_100534192I CAN DRAW: This is again a common and fabulous activity that is used in MANY introductory graphic facilitation workshops. I learned mine from the folks at the International Forum of Visual Practitioners (IFVP) and have seen it done many times with amazing variation. The essence is getting up at a wall and using our bodies to draw circles and lines, play with color using chalk pastels and finally getting a sense of the basics of lettering, including size and proportion.Pastels are messy, but they are MAGIC. Something always happens in the room when we use the pastels. I think this is where the joy really becomes visible.
  • IMG_20151112_152422185Visual Vocabulary: This exercise builds off of the circle, lines and lettering of “I CAN DRAW” and introduces basic human forms (stick person, bean or shapes, springs, etc.) I reference heavily the work of people like Dave Gray,  Austin Kleon and others who have generously shared exercises, videos and how-to’s online. You see examples of the resources in the slide deck at the end of this post. OH, and I role model imperfection, believe me!
  • Icon Jam: We follow the vocabulary exercise with a quick round of icon jamming, an activity I learned at an IFVP gathering. I start by calling out a word and asking people to do a quick “telegraph sketch” of the word. Then after a while they call out the words. In one workshop I had them label their icons as a future resource. In the second one, I had people move from paper to paper to both see other’s work, to experience what it is like to “draw on someone else’s paper, and to guess the meaning of the icons. I liked this variation a lot. You can find examples of past workshops here, where we often do this on 3×5 cards
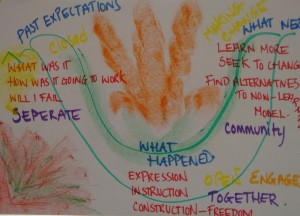
  • IMG_20151111_162410511River of Life: This exercise uses the visual metaphor of a river or a road to stimulate reflection of the past, present and future. In the workshop, the prompt for the past was “what did you expect coming into the workshop.” The present prompt was “what did you learn and experience today.” The future prompt was “what is your next step using what you learned? What more do you want to learn?” Read more at http://www.kstoolkit.org/River+of+Life and more visual examples here.

Application

In the two Chisholm workshops the educators talked about a variety of ways to apply this. There were the expected elements of using visuals to be welcoming and break up text. They spoke of not only the power of visuals, but the power of beauty, as they surveyed the beauty that came out of the “I CAN DRAW” exercise. A few mentioned the utility for working with their more challenging, younger students. Some had to let it sink in, as thinking about visuals in online learning where text has been the dominant form, may take a while.

One of our “non Chisholm” participants, Joyce Seitzinger talked about how she will incorporate more visual activities in the “Learner Experience” workshops she is designing.

Reflections

My key learnings from these workshops affirmed or developed the following ideas:

  • I can get over my attachment that the “I CAN DRAW” exercise MUST be done on large scale paper. We basically had paper that was flip chart sized and I think it still worked. You can’t quite get the full body experience, but it works. This is important because it is hard to find rooms where there is space and permission to do large scale drawing on paper on the walls.
  • Don’t underestimate joy. Make space for joy. Liberate joy!
  • I still would like to find a way to show and practice some of the online options even in a short workshop. I have struggled with this because I feel the foundational experience of working on paper is a must.

Video Harvest/Feedback:

Finally, I decided to try some video feedback vignettes. After I made this video, I realize it missed half the content of the workshop, so I’ll need to do a second try. I’d love any feedback to help me improve on the next iteration!


Slides with Resources: Visual Facilitation in Learning – Resource Slides

Rachel Smith on Drawing in the Classroom https://www.youtube.com/watch?v=3tJPeumHNLY